Making of Joy
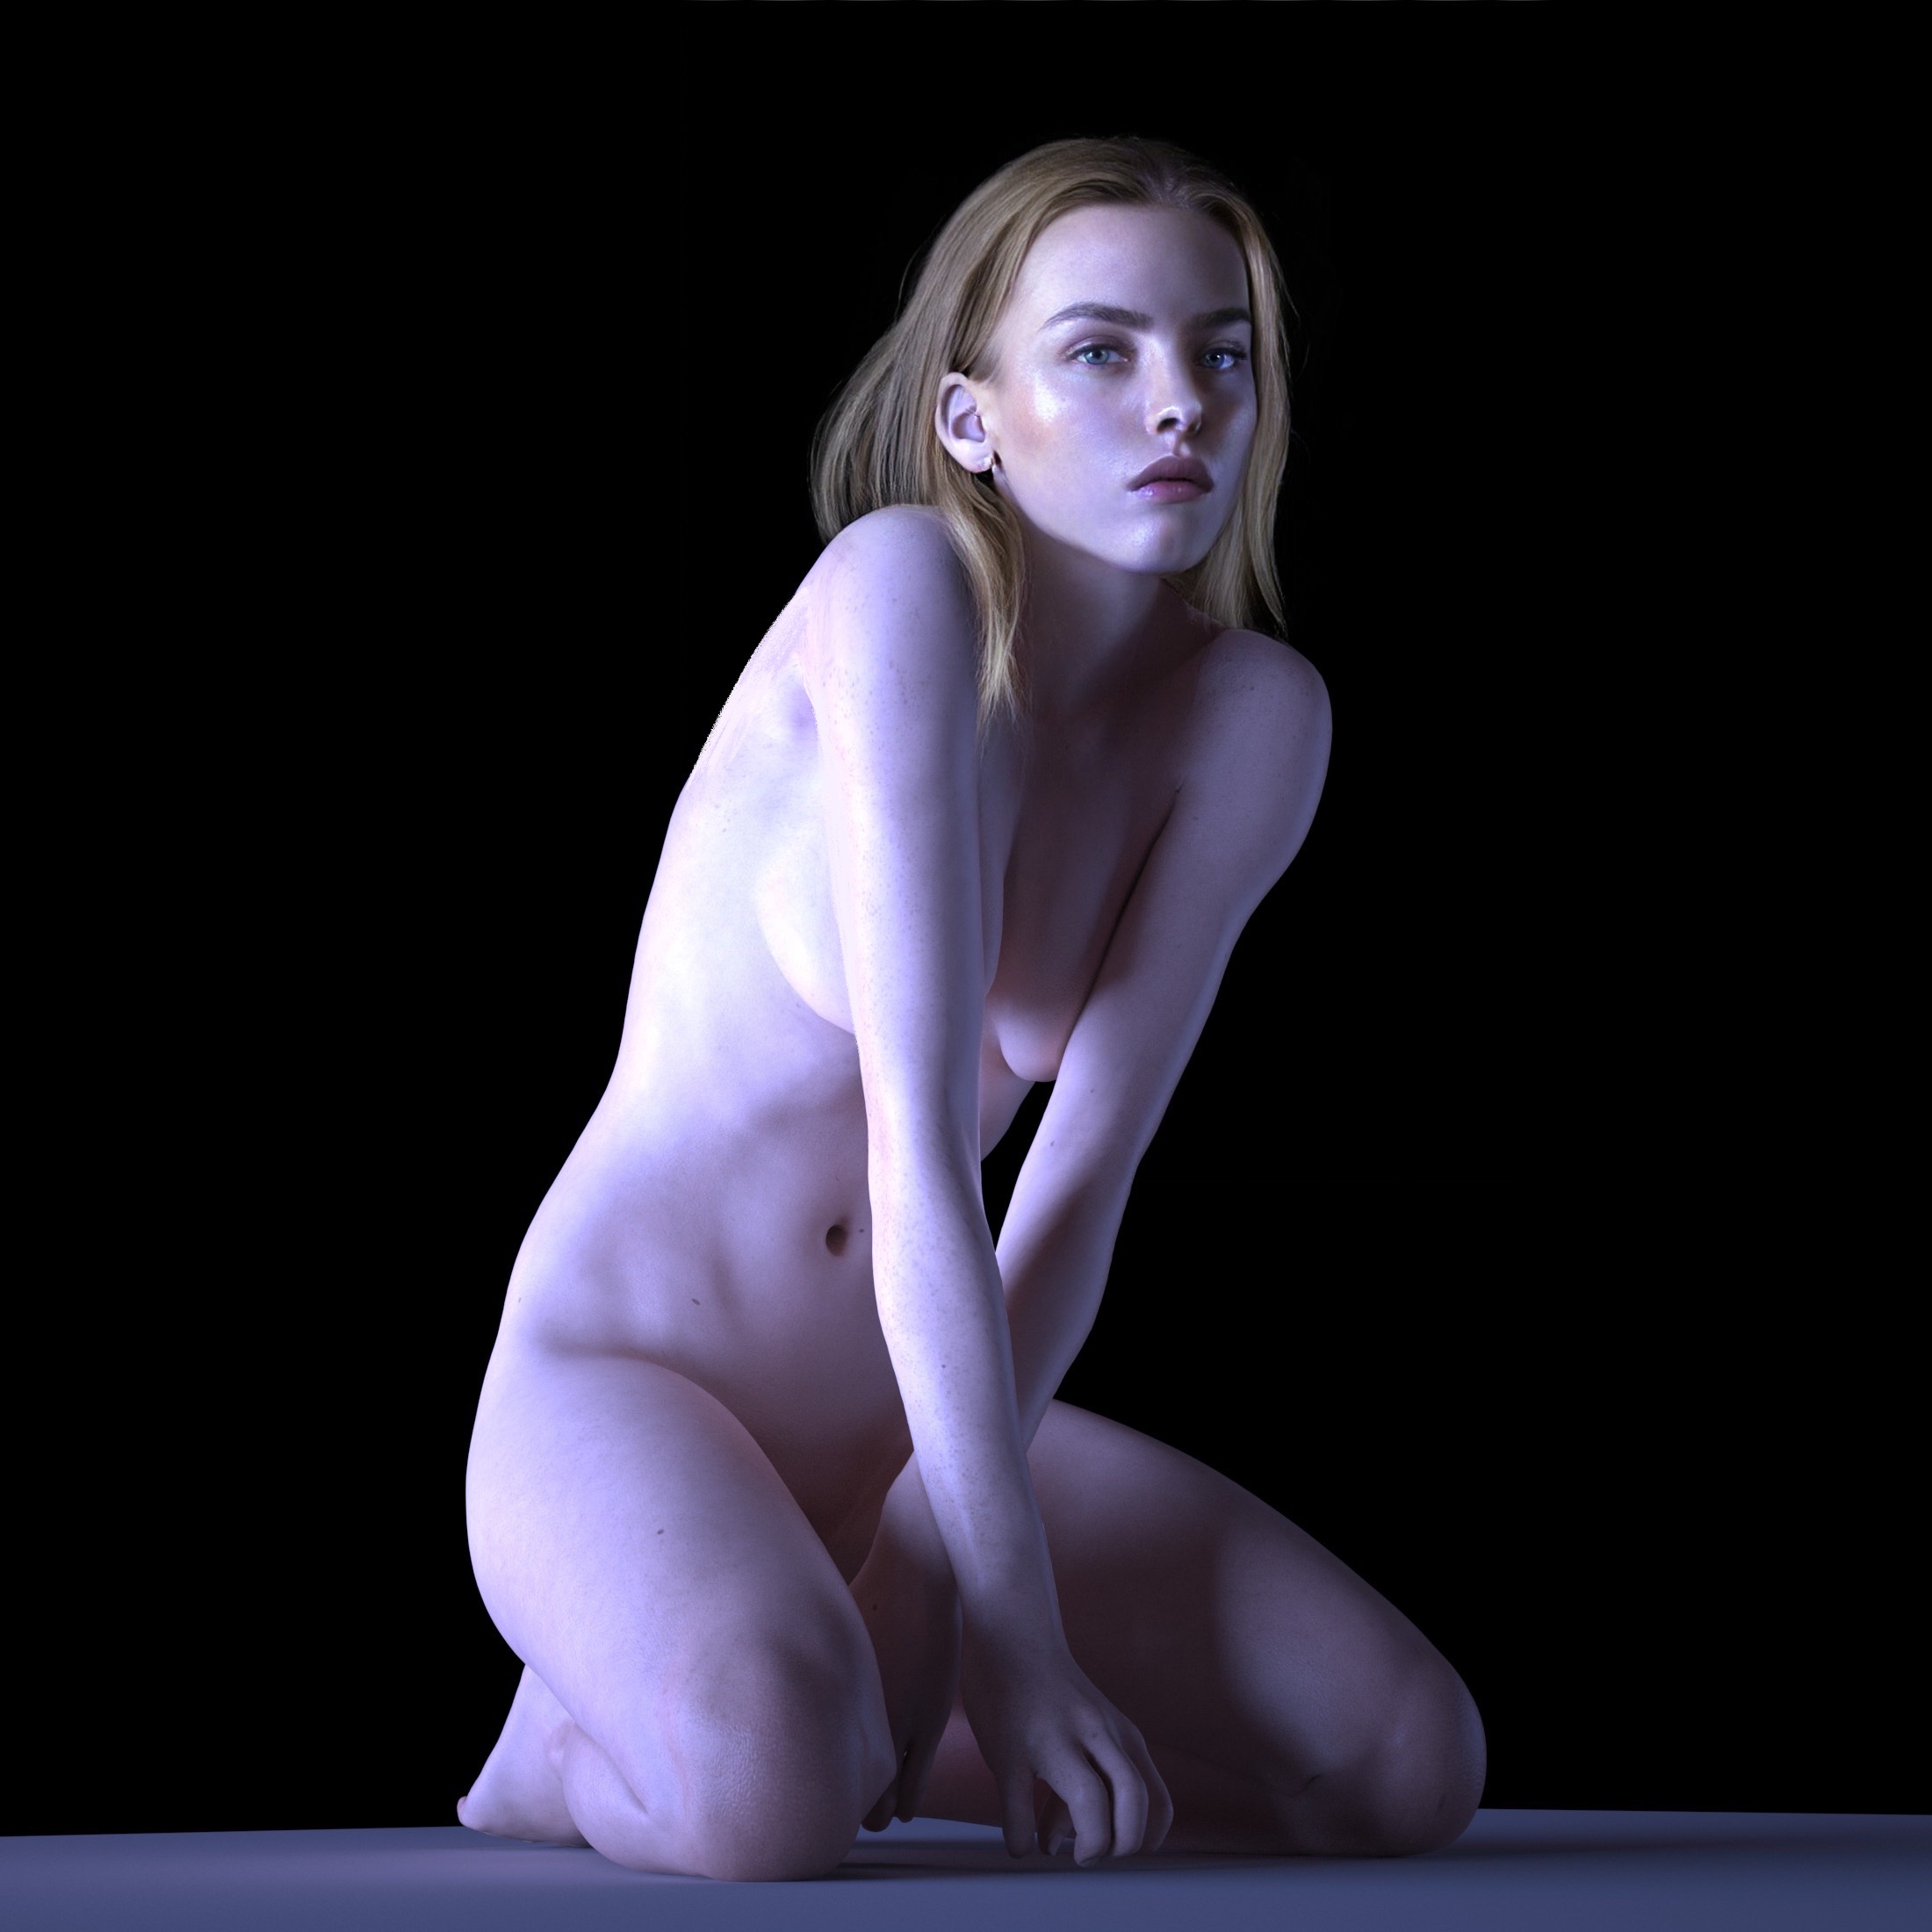
3D model in photorealism
This model took a huge amount of time and effort to make, and as it is now is the result of various atempts to make a reusable 3D model that looks realistic and is also low poly enough for easy animation and posing, even though I personally am not interested in animation, the model in itself is a strong platform to start female characters easy and realistic.
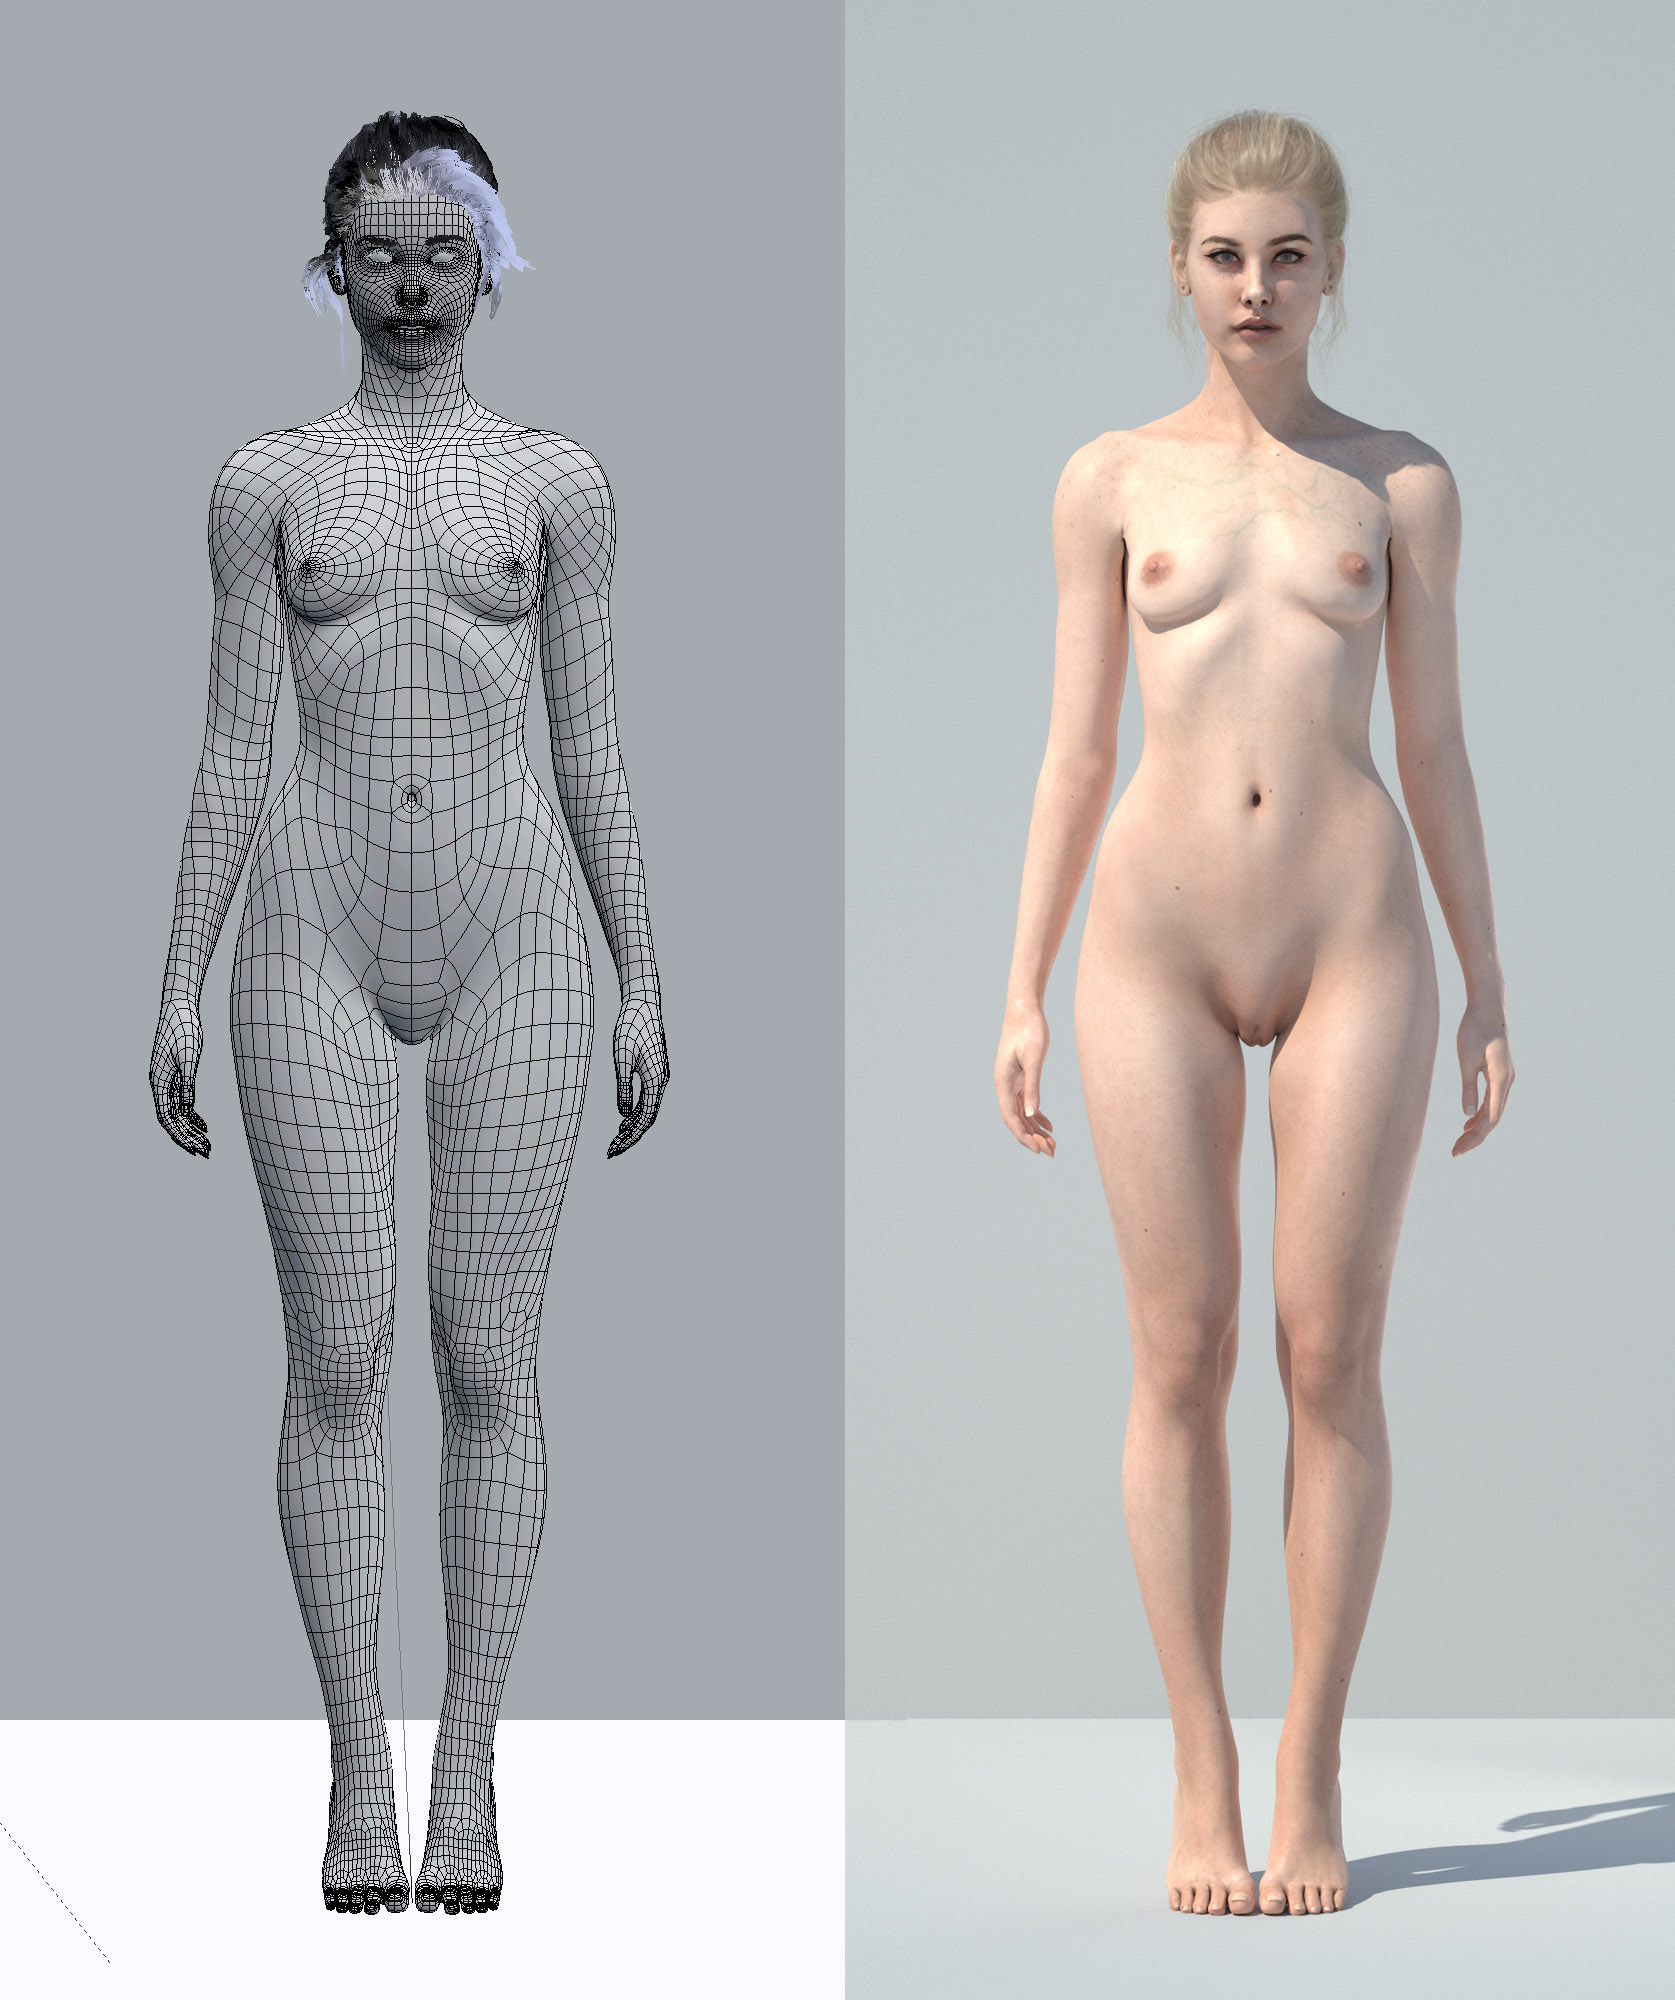
This is actually the third iteration in terms of topology, but I settled for Manuel Bastioni’s base mesh topology I believe it’s great, but I modified the UVs to accommodate all skin in just one texture (8k).
I did this because in terms of texturing, having 2 or 3 textures for arms, body and face becomes a mess when you add REF, GLOSS BUMP, NORMAL, SSS etc. so I packed it all in just one sking texture set, and like so V-ray responds better and loads faster.
for riging I went for a modified rigify, which I believe is the BEST for animation by far, I’ve tried rigging in Maya and honestly it feels prehistoric, rigify is great for the animator and since I’ve studied it since the times of Sintel I feel like I’m in home when I’m using it, I added eye controls, jaws, supporting muscles just like Bastioni’s but they are not enough to get realistic results.
I also use two different Armature modifiers, one with dual quaternion an another without it to control volume a bit better as well as a smooth modifier that works wonderfully, I can’t wait for Implicit skinning to be on blender to enhance this model without the insane amount of hacks needed to deform properly.
Joy has evolved with my other 3D skills such as shader creation, lookdev, architecture, clothing creation, photogrammetry, all to further make the realism credible. below are some examples of my work.
-web-683x1024.jpg)
-web-683x1024.jpg)
The Build
Shoulders
I started working on a muscle system for the whole model, but I found it to be an extreme overkill, so I went for a fairly simple setup, Shoulder muscles & pecs for believable deformations under extreme poses, also for the glutes as you can see in the graphics below, the skeleton was used to have a better anatomical reference of where the muscles should join and I believe is of great help.
Knee and Hips
Both knee and hips, also elbows, work with standard corrective shape keys, which I’m honestly against, since the can take up a lot of space in the little menu and that annoys me deeply, also, there is new technology available like implicit skinning that solves weird deformations in these kind of areas, Blender won the Google Summer of Code funding of 2017, and the project is under development by Natalevish Mikail, but I haven’t heard any news since the announcement and it appears to have been abandoned.
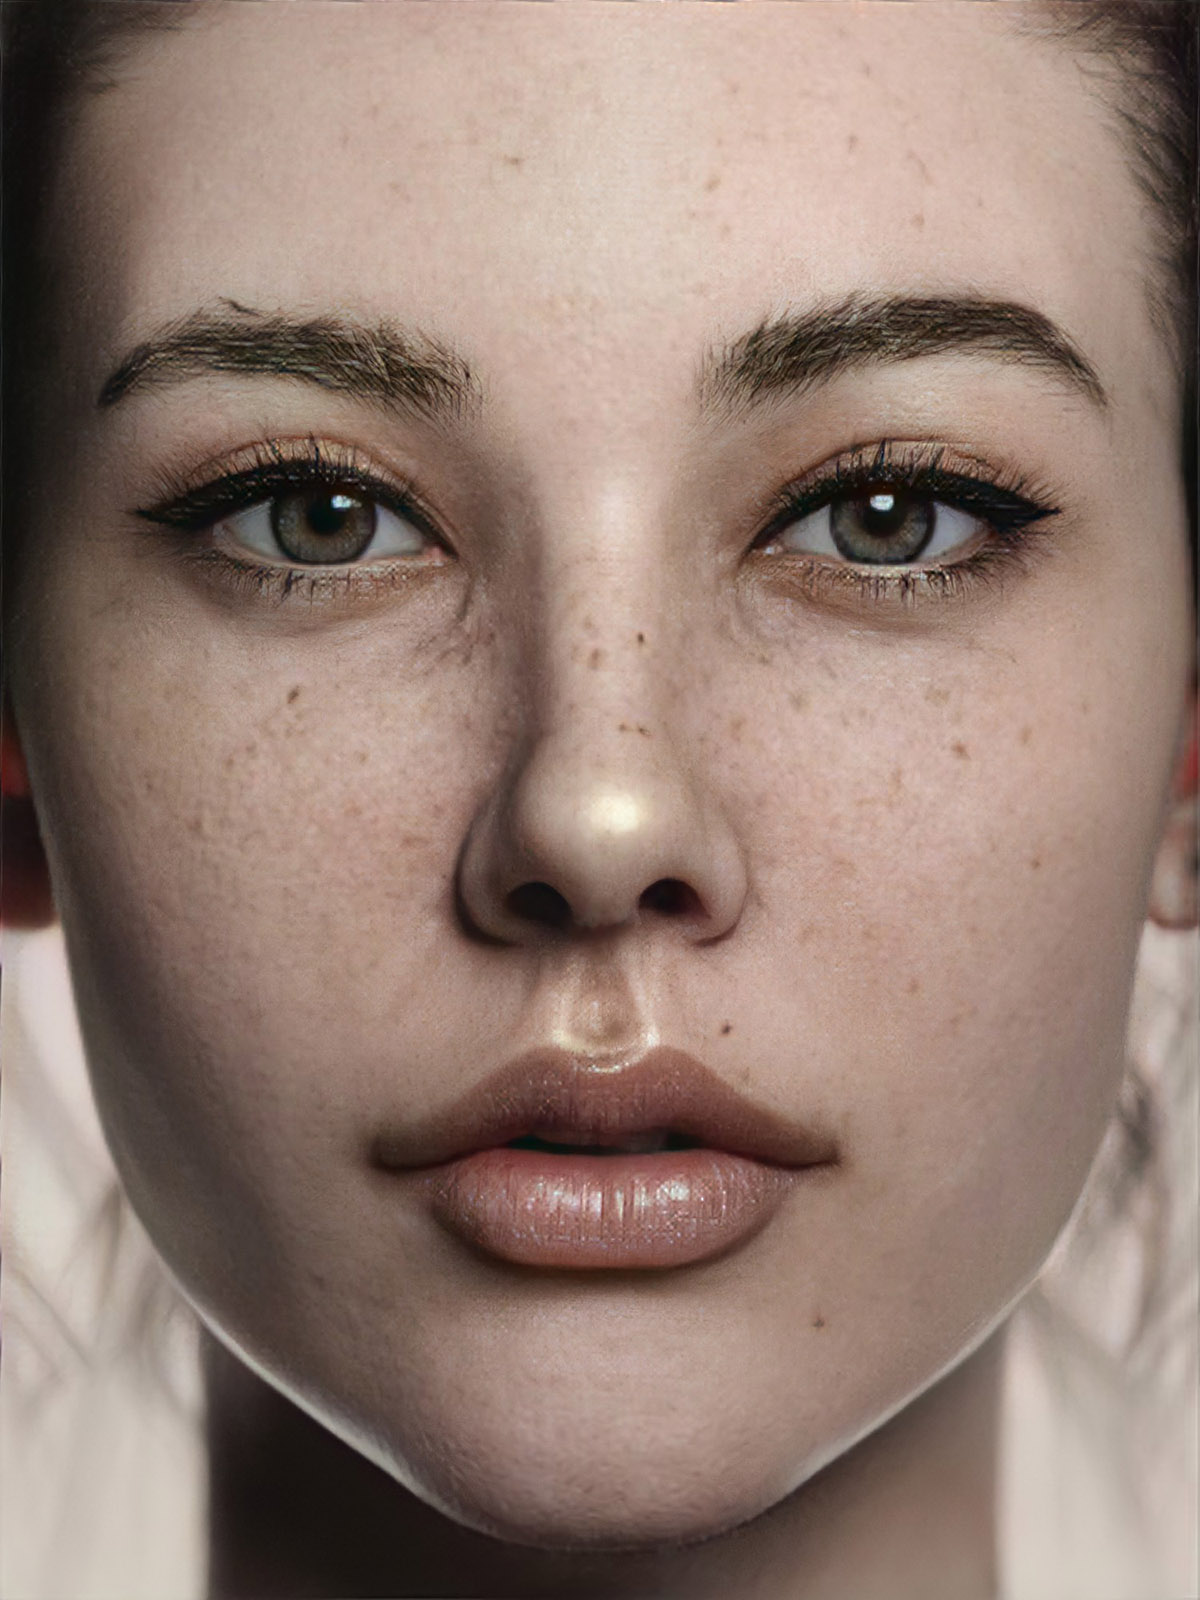
Eye Movement
this took a bit of weight painting to get it to work correctly, specially the lashes, the rig was pretty simple track to modifiers to a target, and the tear line has a shrink wrap modifier to compensate for the iris shape when looking down makes it a lot easier and faster to animate the eyes by just moving the target.
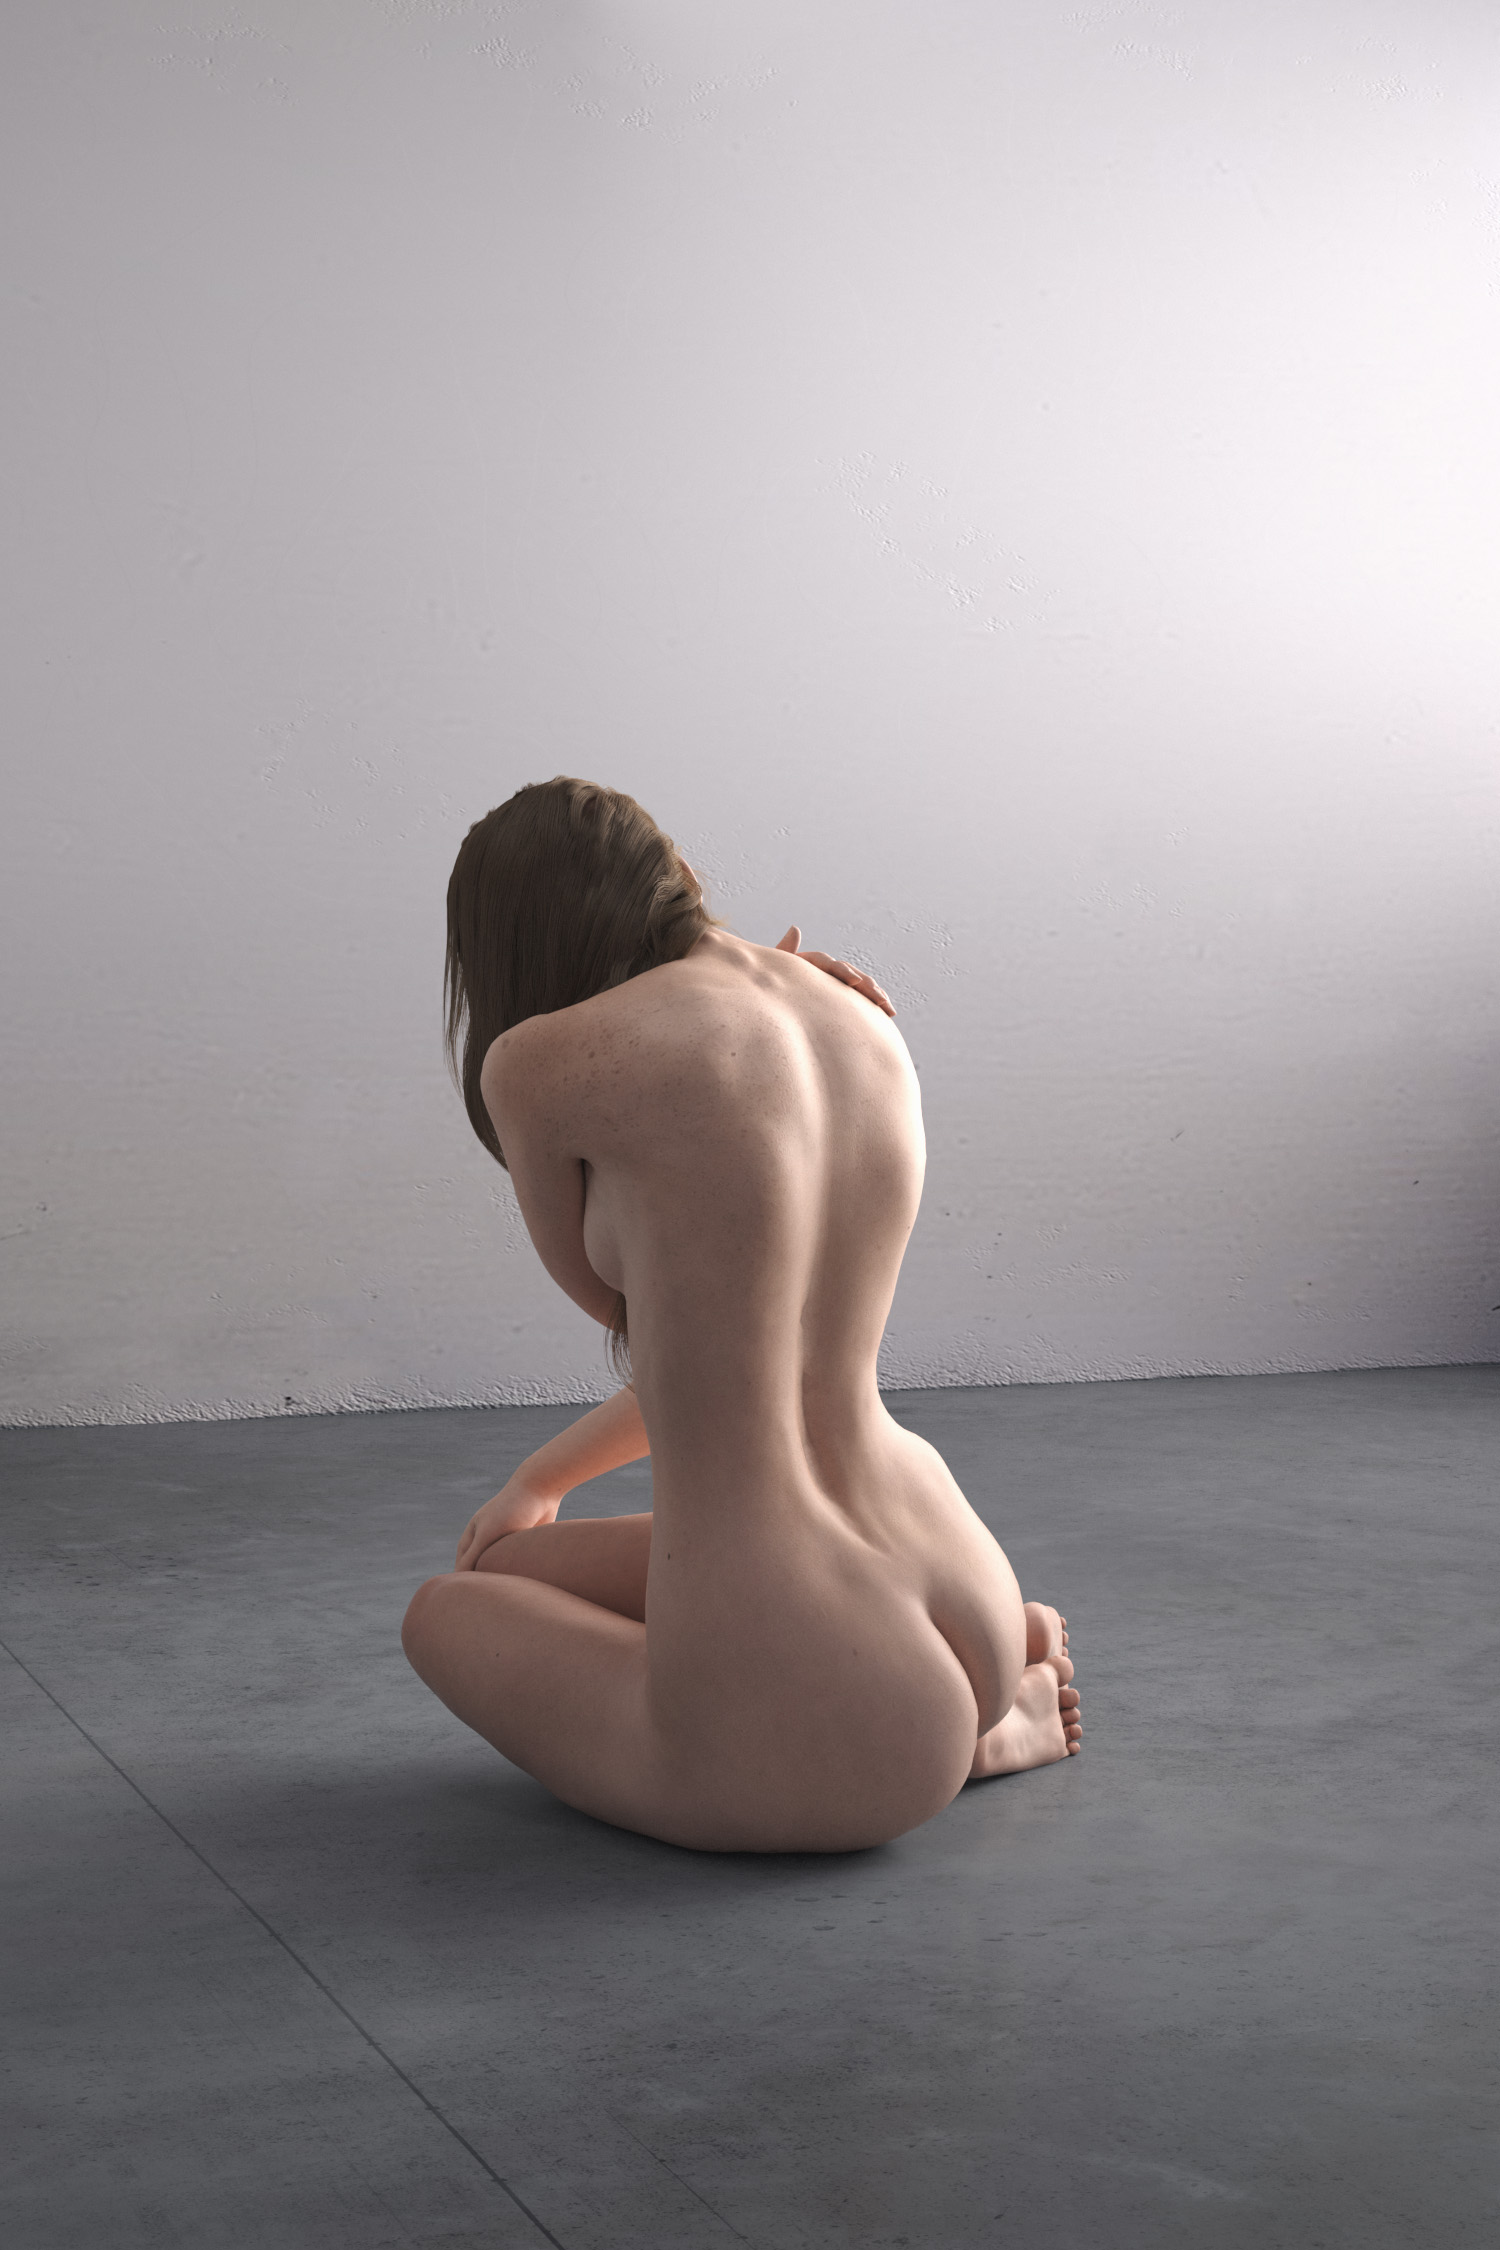
Back Muscles
the main idea behind this was to save myself some time, because muscles in the back where a bit confusing for me, so I built a series of sculpts of the back muscles under different movements and tensions, i turned those into high resolution shape keys with a separate object and applied drives depending on the arm movements, then I shrink wrap my main model to the high res back and let it work just like the muscle system.
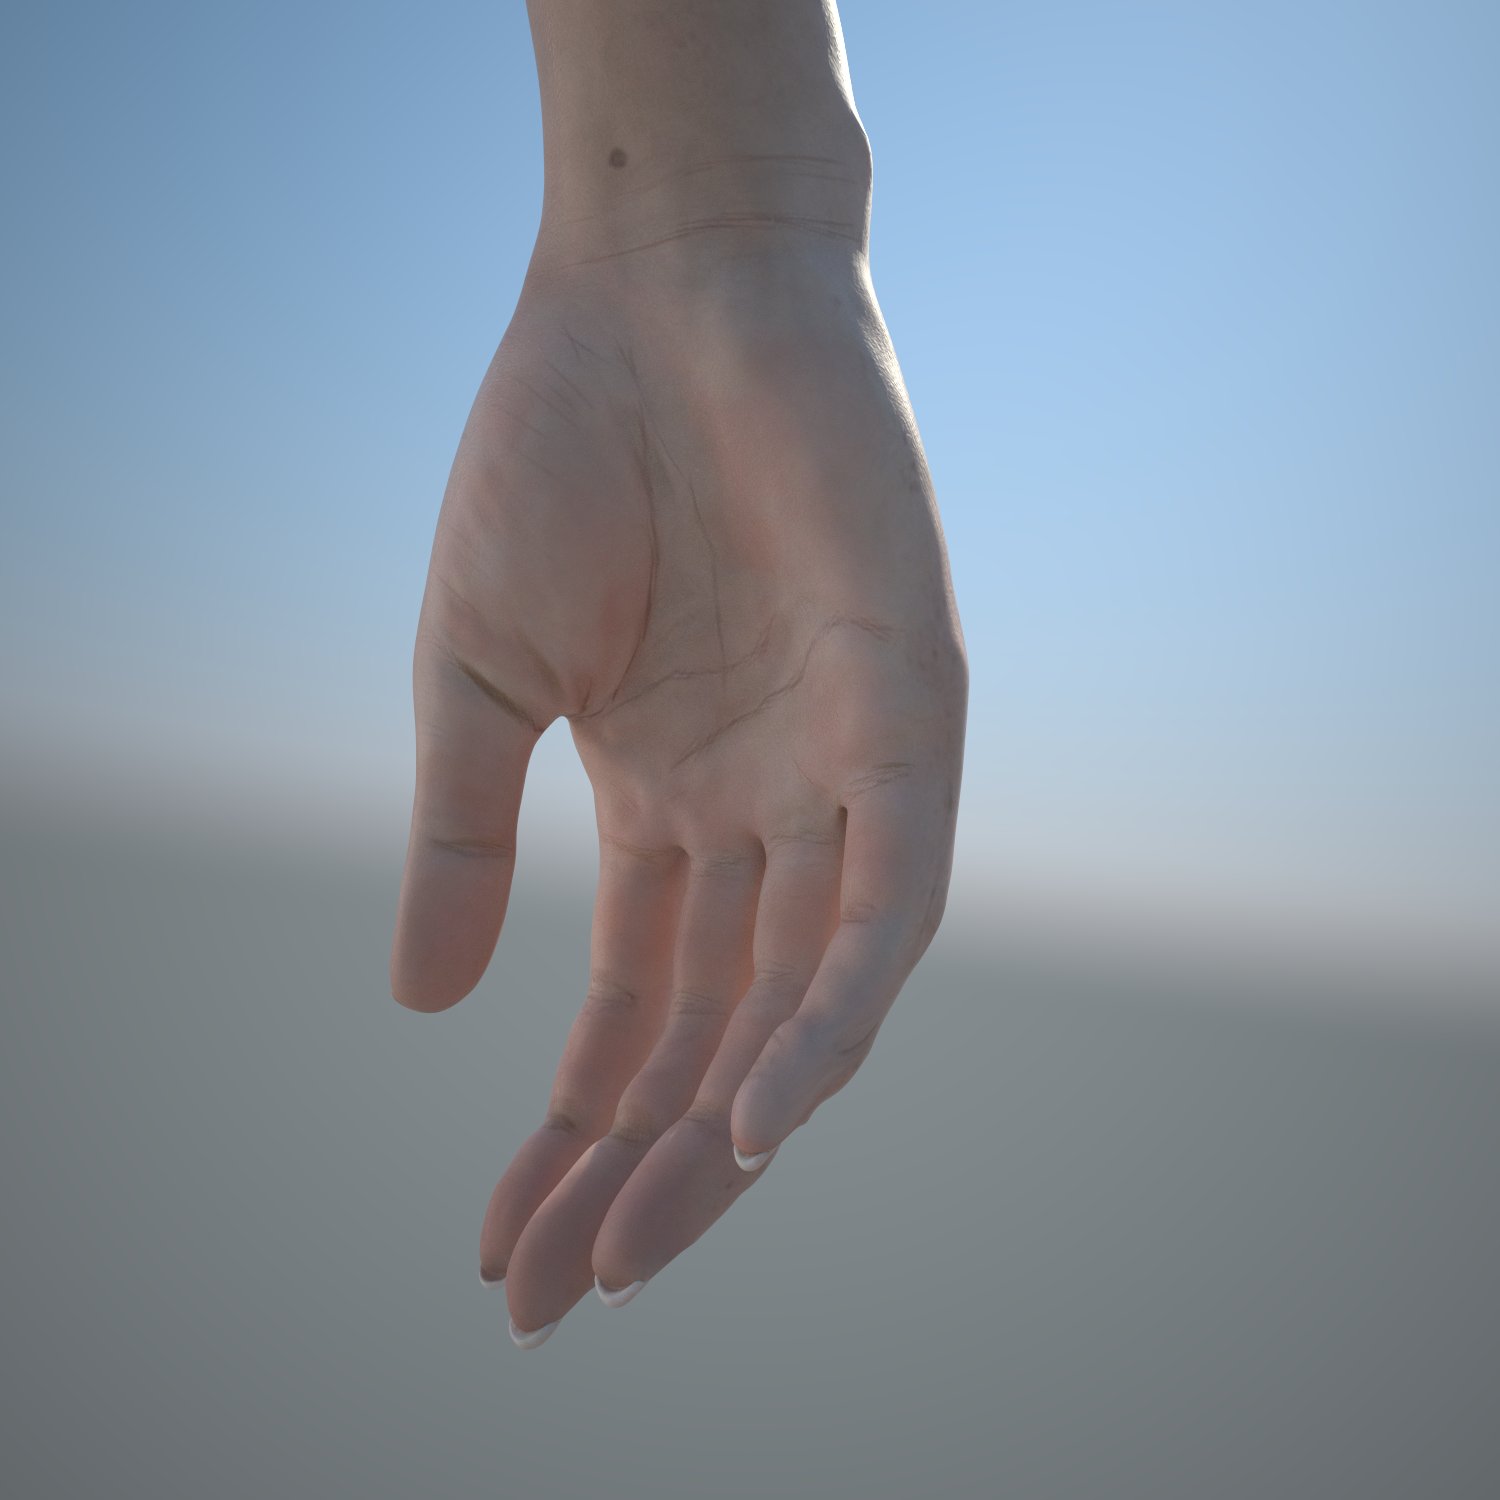
Hands
Z-brush will pay a great role in making the hands, honestly I haven’t put a lot attention to them neither in sculpting or in texturing, only a bit, just to make it look believable from a distance, you can tell by the image that, upclose they are not ideal or believable. finger nails are part of the main mesh, so the blending between them and the fingers is seamless, unlike most builds I’ve seen where the fingernals look insanely unreal because it is a different mesh, Also I did manage to solve believable deformations from the rig with a little trick I learned from Stefan Ehrenhaus.


Room for Improvement
There are several changes I would like to make to the model ASAP, but for the moment those will have to wait, work on improving things is never ending so I’ll try and keep improvement focus on adding new features to make the model more realistic, specially hair, I haven’t found a good way to make body hair, peachfuzz and such, and end up making it on the fly, and waste a lot of time making the shader, I would like hair to provide a bit of bump to the actual skin shader, but I don’t know how that would work yet, I want to add dynamic skin folding via a plugin that detects geometry stretching and applying a texture on those areas to simulate skin shrinking and folding, but haven’t tried that yet.
Also in terms of sculpting I believe I can make a lot of improvements in Z-brush, but I’m afraid to break the speed at which my PC works and end up with a mess, so I just need more practice sculpting; I want to add cellulite to the character’s legs, and even striae (strecth marks) on the chest and hip areas, and face blemishes, I believe these “flaws” in a female body will add huge amounts of realism, even if those are considered unaesthetic. and talking about that I want to also add shaved armpits to the textures, and this has a lot more to give Joy more character personality and this includes of course piercings, tattoos and outfit style.

Leave a Reply